|
A few of you struggled with yesterday's tutorial. To add a little more help I've recorded two videos which will help you complete both parts. Do the Illustrator section first and follow the video instructions included: Part 1: Illustrator Part Part 2: Photoshop Part Today is Photoshop's 23rd birthday. If you finish the abstract color project or you still have trouble getting it to work - try this classic Andy Warhol project using an image of someone you like. This works best on a portrait with a simple background. The larger the image the better. It appears as though I've caught the flu that's been going around and I will be out sick today. I hate missing classes. Today I'd like for anyone that didn't finish the color poster design to complete the finished poster. Post the final work to your journal when it's complete. For those of you that have completed the poster, I'd like you to try out this tutorial that uses both Illustrator and Photoshop to create an abstract background that might be part of our yearbook cover this year. When complete, post the finished design to your journal. If you get done the color poster and the abstract, I'd like to see you create a cover for this year's 2013 Shield. The theme of this year's book is "change." The required elements are the title "Shield," the year "2013," We need ideas for how you would go about showing change graphically - that could mean a timeline of photos, a morphing from one element to a new element. It would be a good idea to thumbnail ideas before trying to create a digital version. Thumbnail sheets are on the drawing table for this purpose. The document size should be 9 x12 inches with .125" of bleed. Look on the bulletin board and try to remember to incorporate the principles of design - balance, contrast, pattern, emphasis, rhythm, variety, and unity. Post your thumbnails and ideas to your journal when complete. I will try to call into class early to answer any possible questions. I'll also monitor my twitter feed during the day. Tag any questions with #tchsart and I'll answer them as soon as I can. Make sure you post the results of today’s work to your journal and stay busy! 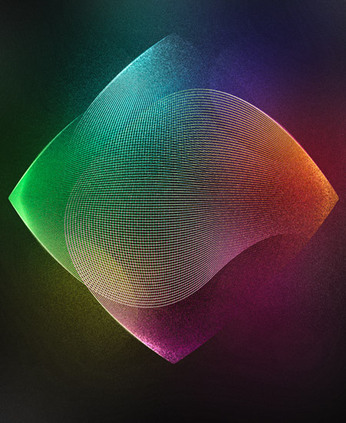 sample of abstract image Color Poster: Quite a few of you didn't get the final poster design done by the end of last week. We took our time getting all of the assets for the poster together and then it seemed to be a rush when we started working in InDesign on Thursday and Friday. It's critical that you learn how to work with the program so I am going to extend the project out a few more days. I demonstrated a few techniques I wanted you to work on, but to really learn how to use the tools in InDesign you need time to experiment with the program. Many of you could use a workbook as a reference. The workbooks listed below will help you see the techniques you need to master. I've posted them for all three of the programs we focus on: One of the skills I wanted to see demonstrated was a customized bulleted list. Anthony shared a great video on how to customize a bulleted list. It is posted below. The thumbnails that I saw were all good plans for the poster design - but many of us abandoned the plan once we got into InDesign. Those of you that muscled your way through to the finished design, evaluate what you've done and try to improve upon the finished design. When you've completed the poster choose File>Export and export a jpeg file at 100ppi. This will help in the finished appearance of your poster when you post it to your journal. By the way, if you made the deadline - congratulations! You earned a mouse pad project kit! Good things can happen to people that make deadlines! We should all love the things we create - and sometimes that takes time.
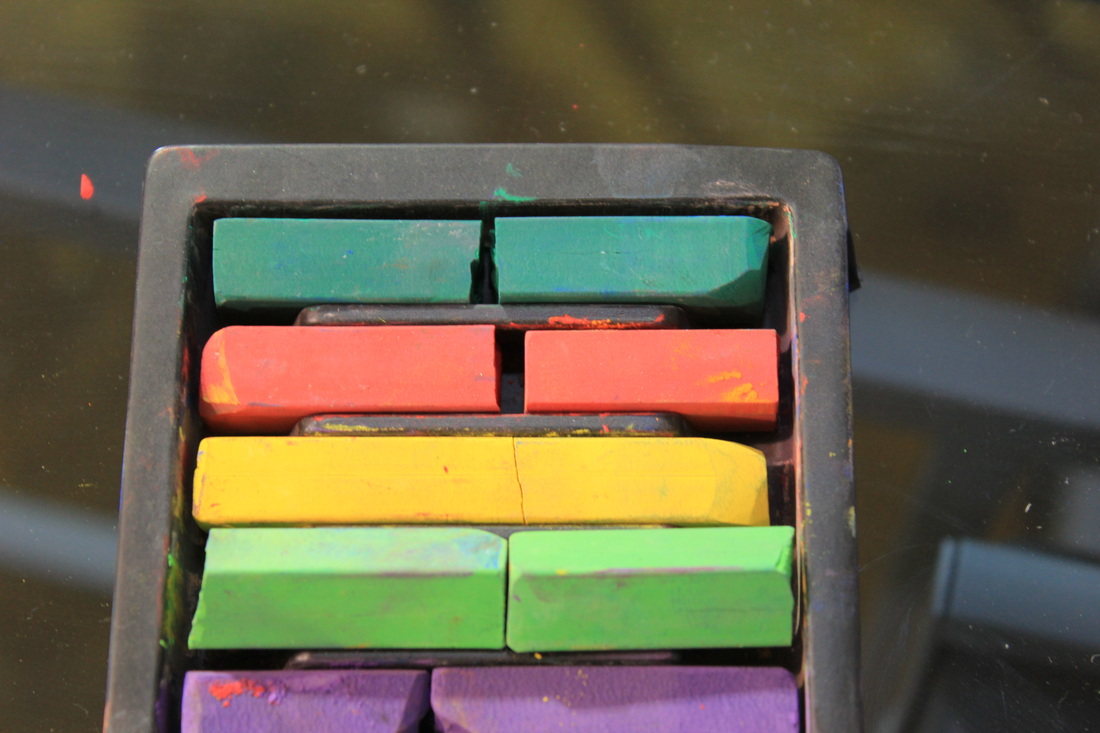
Color Poster Project - Continued from last week Tuesday - Photography Section: Take seven photos of an object that is of the color you’re going to focus on for your poster. Try to use a low depth of field for these shots and don’t be afraid to fill your composition with the color. In other words, get close to your subject! Upload your images to your Color Wheel Poster folder. Wednesday to Friday: Thumbnails, Rough and layout in InDesign Wednesday - Generate four layout thumbnails for your poster - experiment with the orientation (tall or wide?) Choose one thumbnail and create a full-scale rough of your poster showing headlines and positioning of text and image areas. Using Adobe InDesign, execute your design. 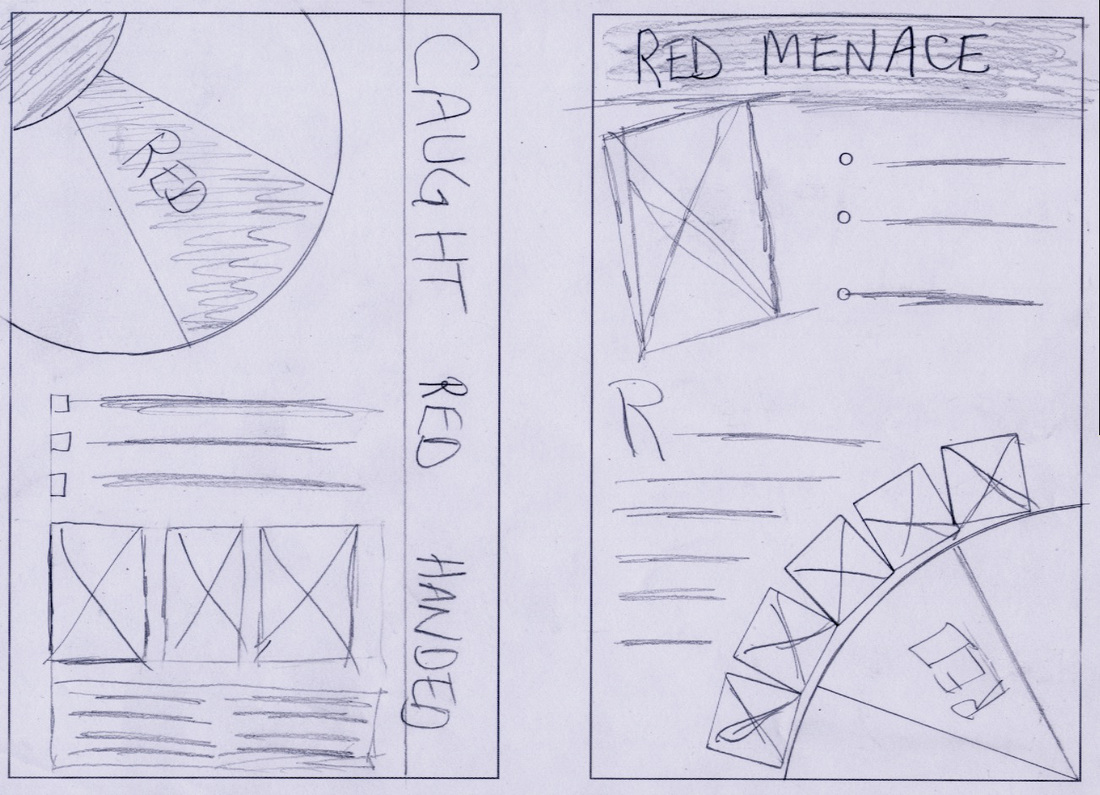 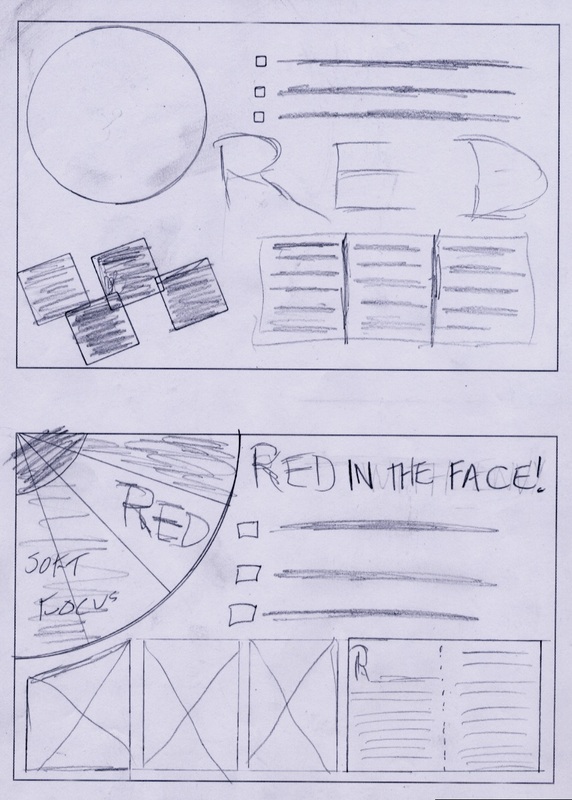 Yearbook Work this week:
         Color Wheel Poster Project
Vocabulary for this project:
Day 1 & 2 (Color Wheel Photos):
Day 3 & 4: Color Acquity Test/Psychology of Color
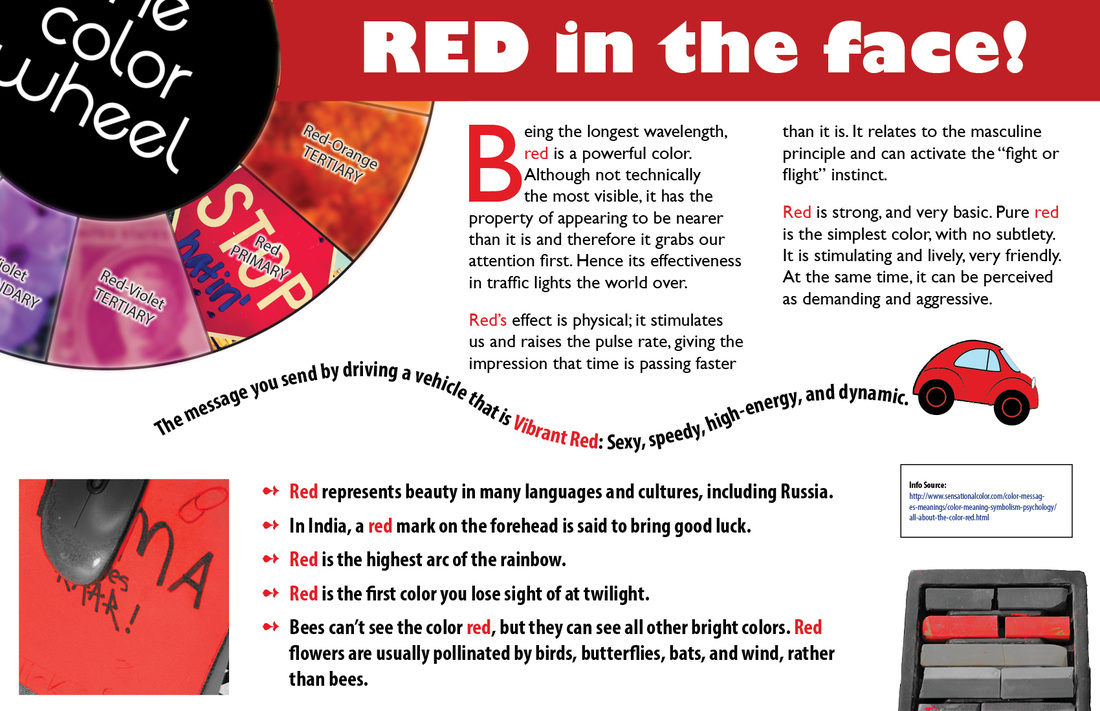
We’ll need some text for our poster. Pick a single color you wish to feature in your poster. Use the following web sites to read about the psychology of color and how color is perceived differently in different cultures. http://www.sensationalcolor.com/color-meaning-symbolism-and-psychology http://www.merttol.com/articles/web/color-psychology-in-creative-design.html http://www.smashingmagazine.com/2010/01/28/color-theory-for-designers-part-1-the-meaning-of-color/ http://psychology.about.com/od/sensationandperception/a/colorpsych.htm http://www.infoplease.com/spot/colors1.html http://www.colour-affects.co.uk/psychological-properties-of-colours Create a Microsoft Word document (Use this Template) and copy/paste any text you can find related to the color you have chosen. Your text should include both bulleted lists as well as paragraph text. It is a good idea to edit your word file to remove any formatting from the web page. Make sure that you’re copying the sources (web address) of your information as we’ll be giving credit for the text sources. Day 5: Photography Section Take seven photos of an object that is of the color you’re going to focus on for your poster. Try to use a low depth of field for these shots and don’t be afraid to fill your composition with the color. In other words, get close to your subject! Upload your images to your Color Wheel Poster folder. Day 6 & 7: Thumbnails, Rough and layout in InDesign - details to come next week. We closed out the Comic Book project last week after two deadline extensions. It was obvious that many of you struggled with the challenges of working on a large-group project – but the reality is that working and depending on others can be difficult and challenging. There were scheduling issues because of absences and co-workers often over-rely on others to carry the weight of a project – these are all very real and difficult dilemmas when working in a group, on a team, or at a company. So the learning was real even if the products were not as high a quality as you all are capable of doing. The reality is that designers, photographers and creatives work collaboratively – either with other artists or with groups of clients. If this project didn’t work for you, it’s important to try to understand why and how your approach needs to change when confronted with this type of challenge in the future. What will you do differently in the future to succeed? Project Work
This week we’re going to begin working on a project called Mini-Me/Mega-Me. We will be working with partners throughout this project and responsibilities will be evenly shared. Each partner will plan a photo shoot of themselves in an environment they wish to be placed into. The idea is to create two surreal composite images from a group of images. You will need to miniaturize yourself in the mini-me part of this assignment. In the second part, mega-me, you’ll become a giant in an unusual place. Turn yourself into Godzilla or King-Kong scale. It will be important to pay attention to light, shadows and image quality. (See the mini-me samples below.) 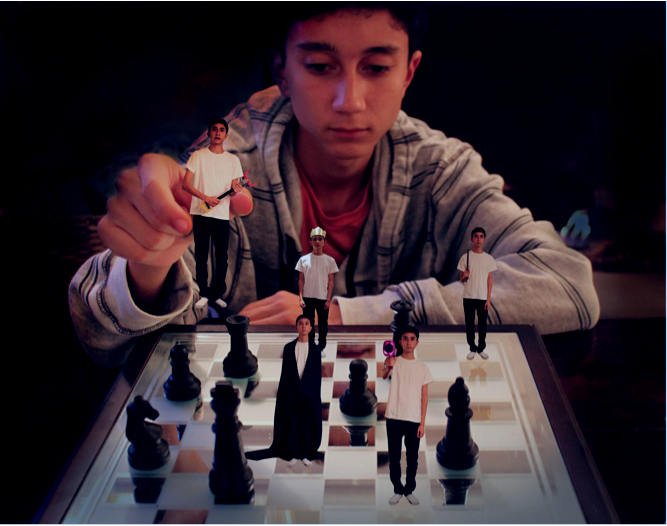 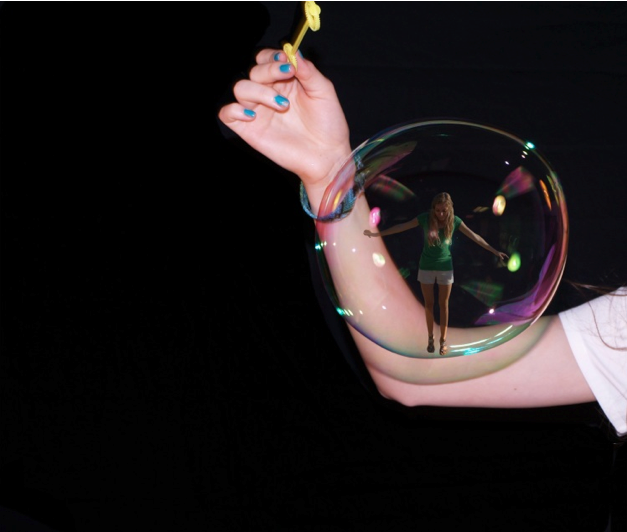 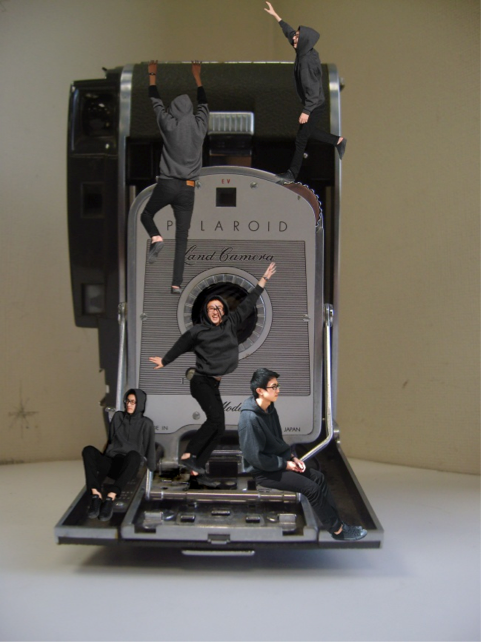 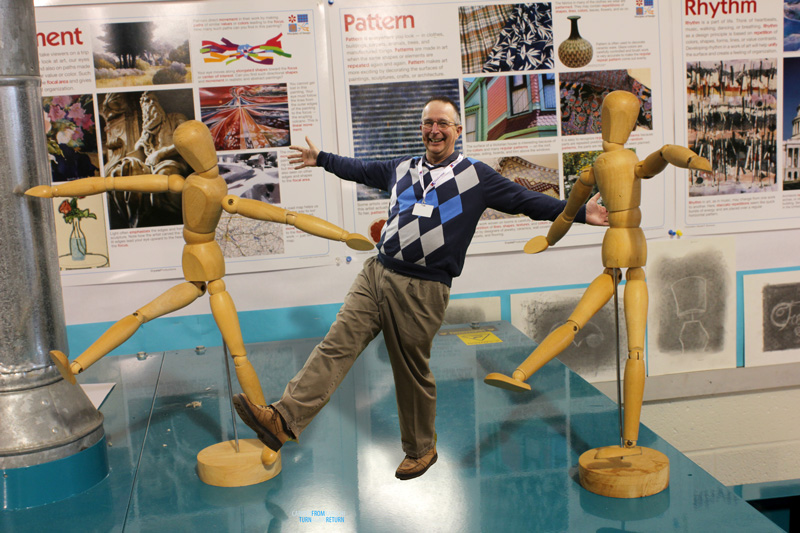 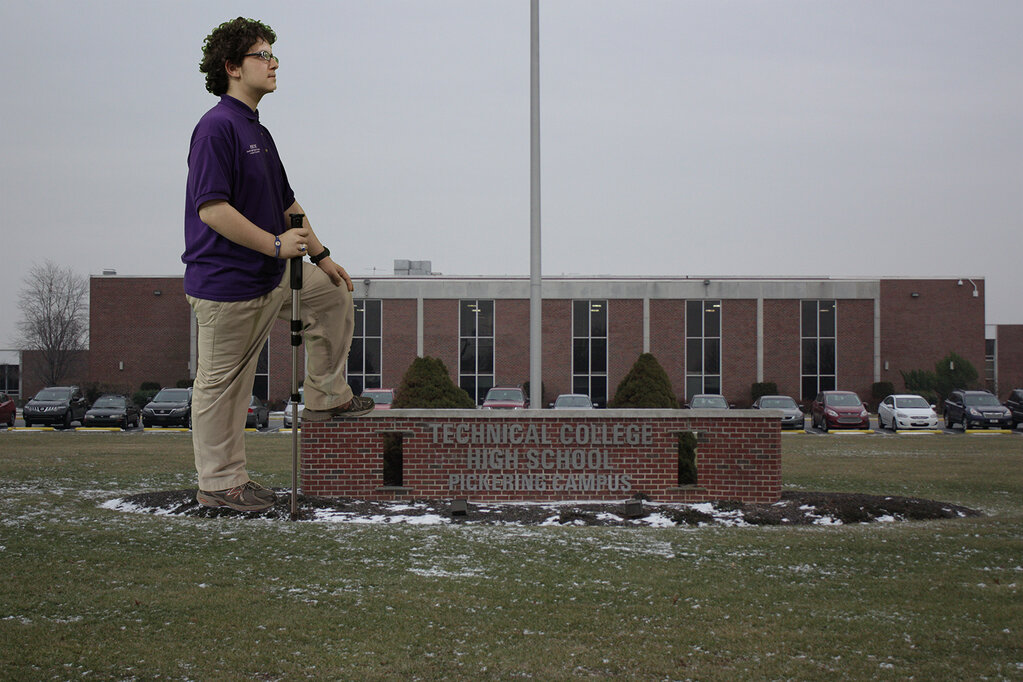 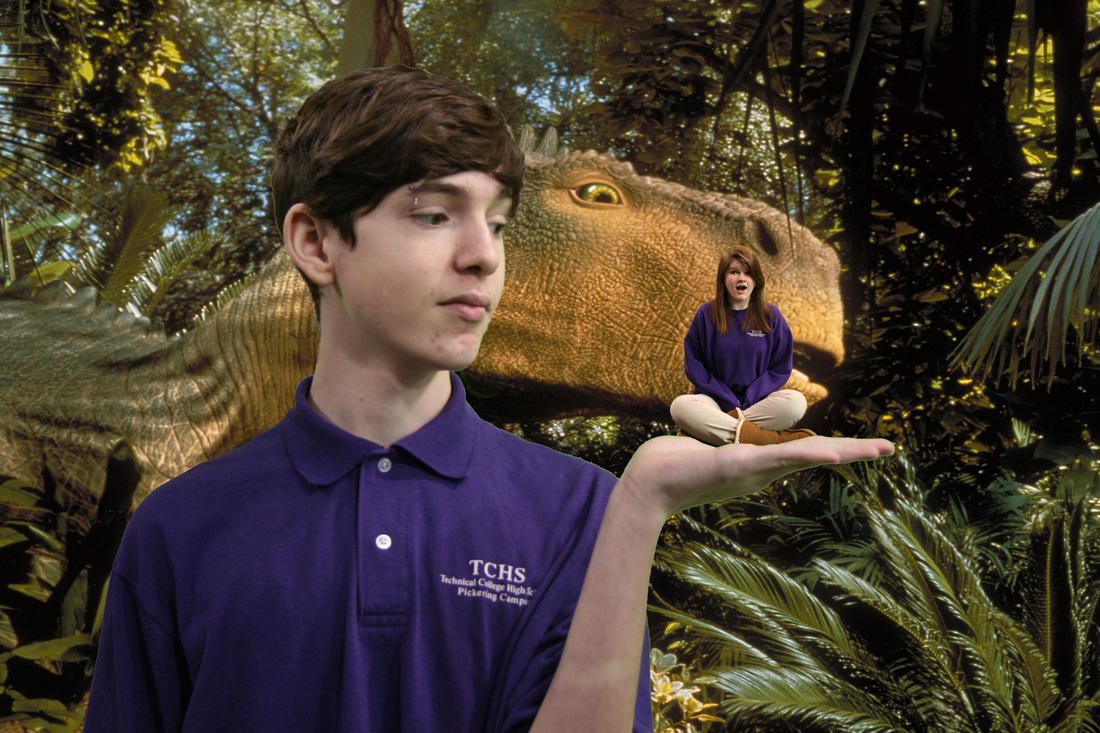 Related to our assignment this week, we will be learning about white balance in our photography experiments this week. To complete our white balance experiments, you will need to follow these steps over two days: Day One:
Day Two:
|
 Mr. TuckerMr. Tucker is in his 23rd year as the instructor for the Graphic Arts program. Prior to his teaching career he worked in the flexography industry for ten years and in quick printing for ten years. NEED HELP?Weebly Student Log-in Link
PHYS. ED. DAY
AM - Thursdays - 1 PM - Thursdays - 7 HEALTH DAY PM - Mondays - 7 Lake Photo
|
 RSS Feed